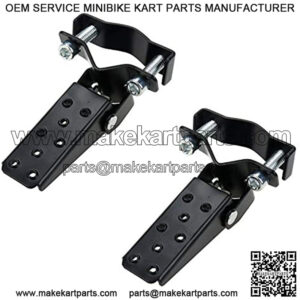
A foot peg on a mini bike is a small platform attached to the frame of the bike where the rider can rest their feet when riding. They are typically found on mini dirt bikes or children’s bikes.
How do you put foot pegs on a mini bike?
1. Start by finding the right foot peg for your mini bike. Most mini bikes come with a set of foot pegs, but if you need to purchase a new one, make sure it is compatible with your bike. There are several types of foot pegs available, such as clip-on, adjustable, and folding. Choose one that best suits your needs and fits your bike.
2. Next, locate the footpeg mounting holes on the frame of the mini bike. Most mini bikes have two holes on either side of the frame for the foot pegs.
3. Insert a bolt into the mounting hole and tighten it with a wrench.
4. Place the footpeg onto the bolt and tighten it with the wrench.
5. Repeat the process for the other side.
6. Test the foot pegs to make sure they are secure and not loose. If they are, tighten the bolts again.
Once you have the foot peg, install it according to the instructions provided. Make sure the peg is securely attached to the frame of the bike.
Next, adjust the footpeg height to your preference. To do this, loosen the mounting bolts and adjust the peg to the desired height. Tighten the bolts to secure the peg in place.
Finally, test the foot peg by standing on it and making sure it is comfortable and stable. If you feel any instability, adjust the peg height until you are satisfied with the stability.
Your mini bike is now ready to ride with the new foot peg! Enjoy your ride and have fun!
About minibike foot peg
“mini bike foot peg covers”
“mini bike foot peg”
“coleman mini bike foot peg upgrade”
“are motorcycle foot pegs universal”
“what is a foot peg”